
This article is the detail of my speech in the WordCamp Madrid 2019. Next I will share with you a simple guide to deploy your WordPress files on a server directly, without the need for FTP.
Video of the presentation on WordPress.TV
Slideshow
Deployment with Plesk Onyx and BitBucket
The process would describe it in 10 steps, in order to establish a deployment flow in Plesk servers with a BitBucket repository (it’s similar in GitHub).
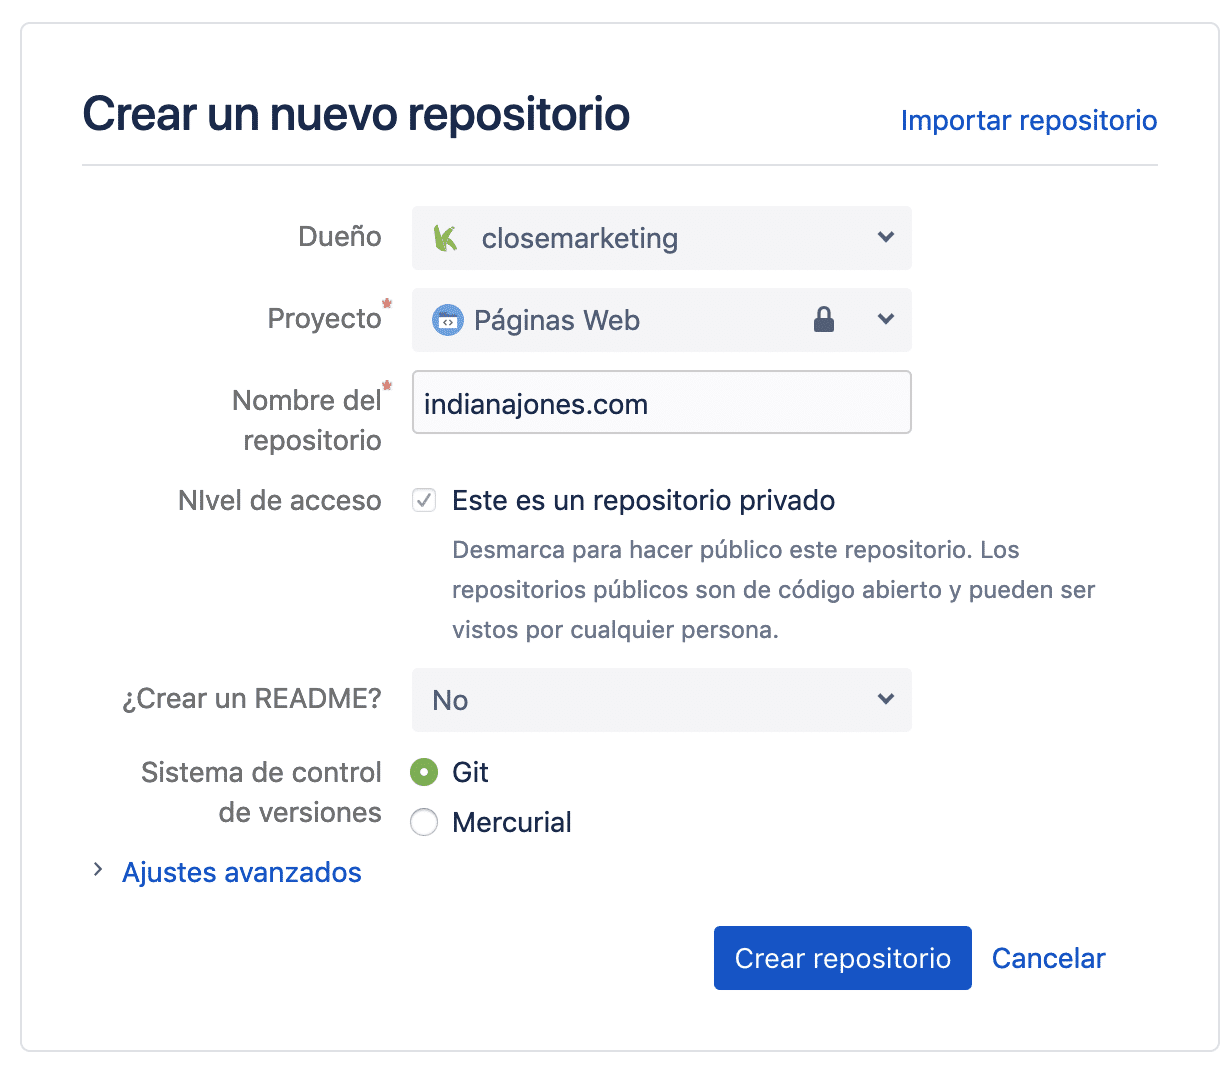
1. Create a repository
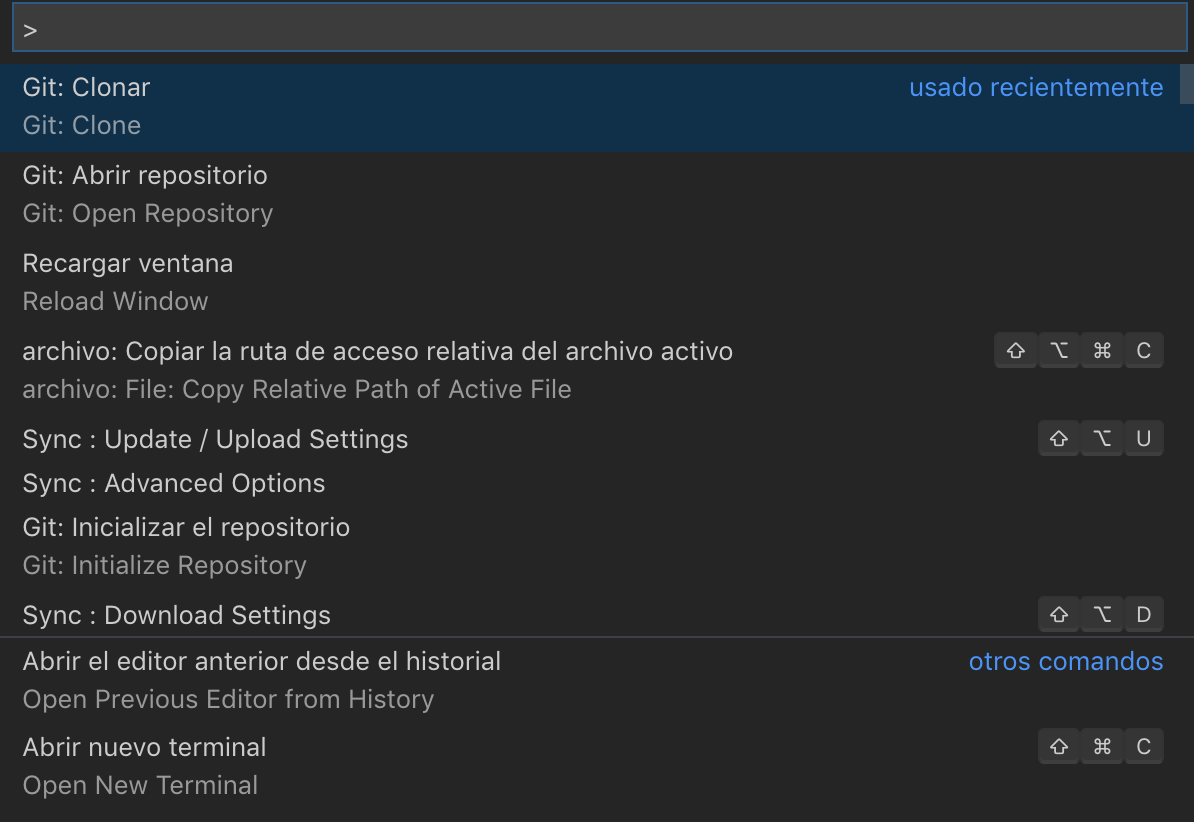
2. Clone in local
3. Create Gitignore file and git push
If you are going to create a repository for your Web, I recommend that you use this .gitignore, which is designed to only have in the repository the folder /wp-content/mu-plugins and the folder /wp-content/themes/your-theme-son/.
What we try to do is ignore third party programs and only include those we make for a web in WordPress.
4. Git Settings
5. SSH Plesk password
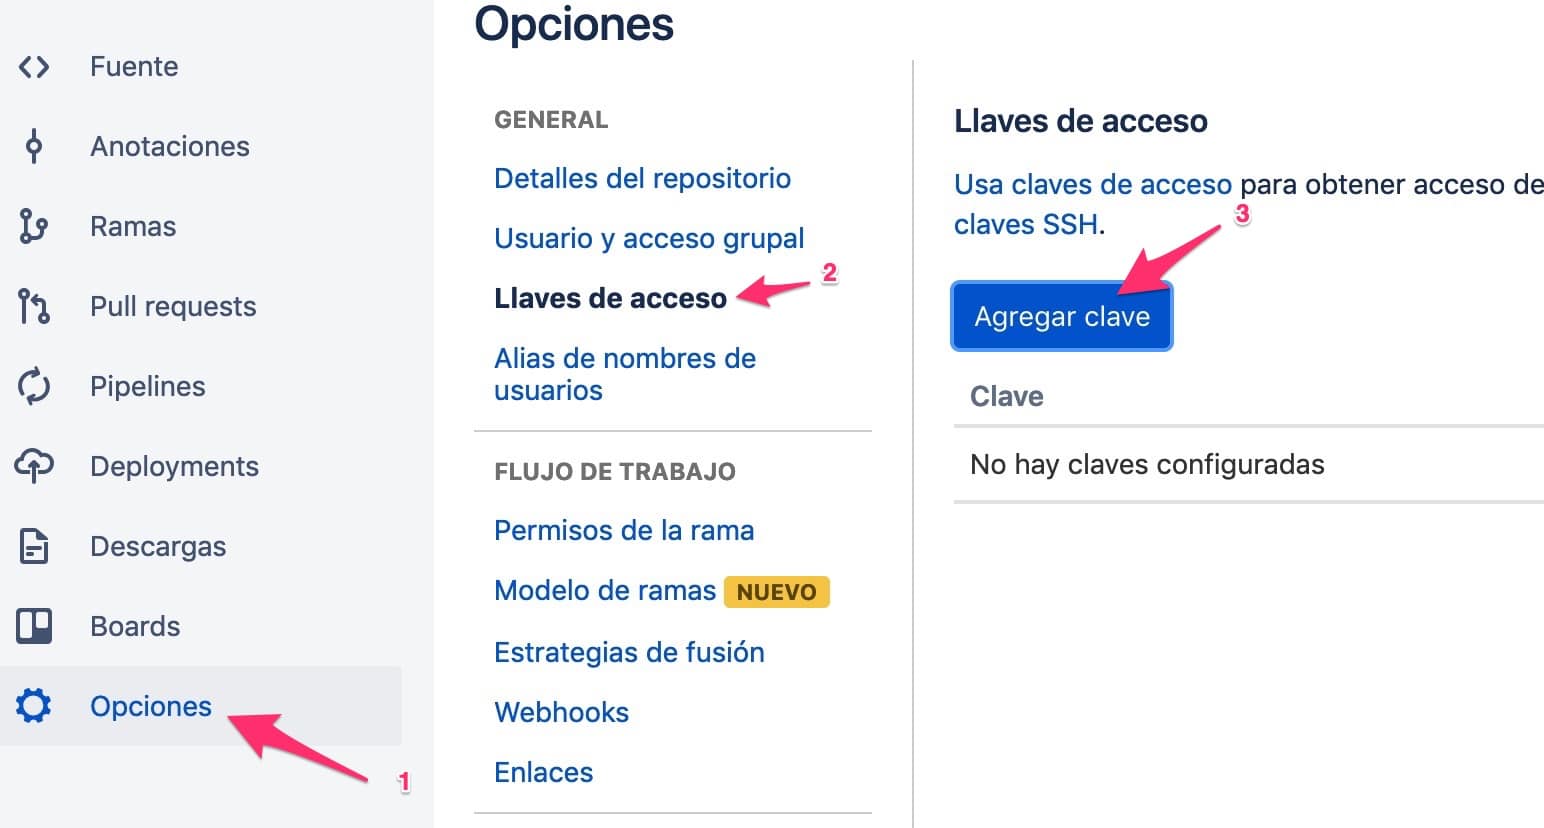
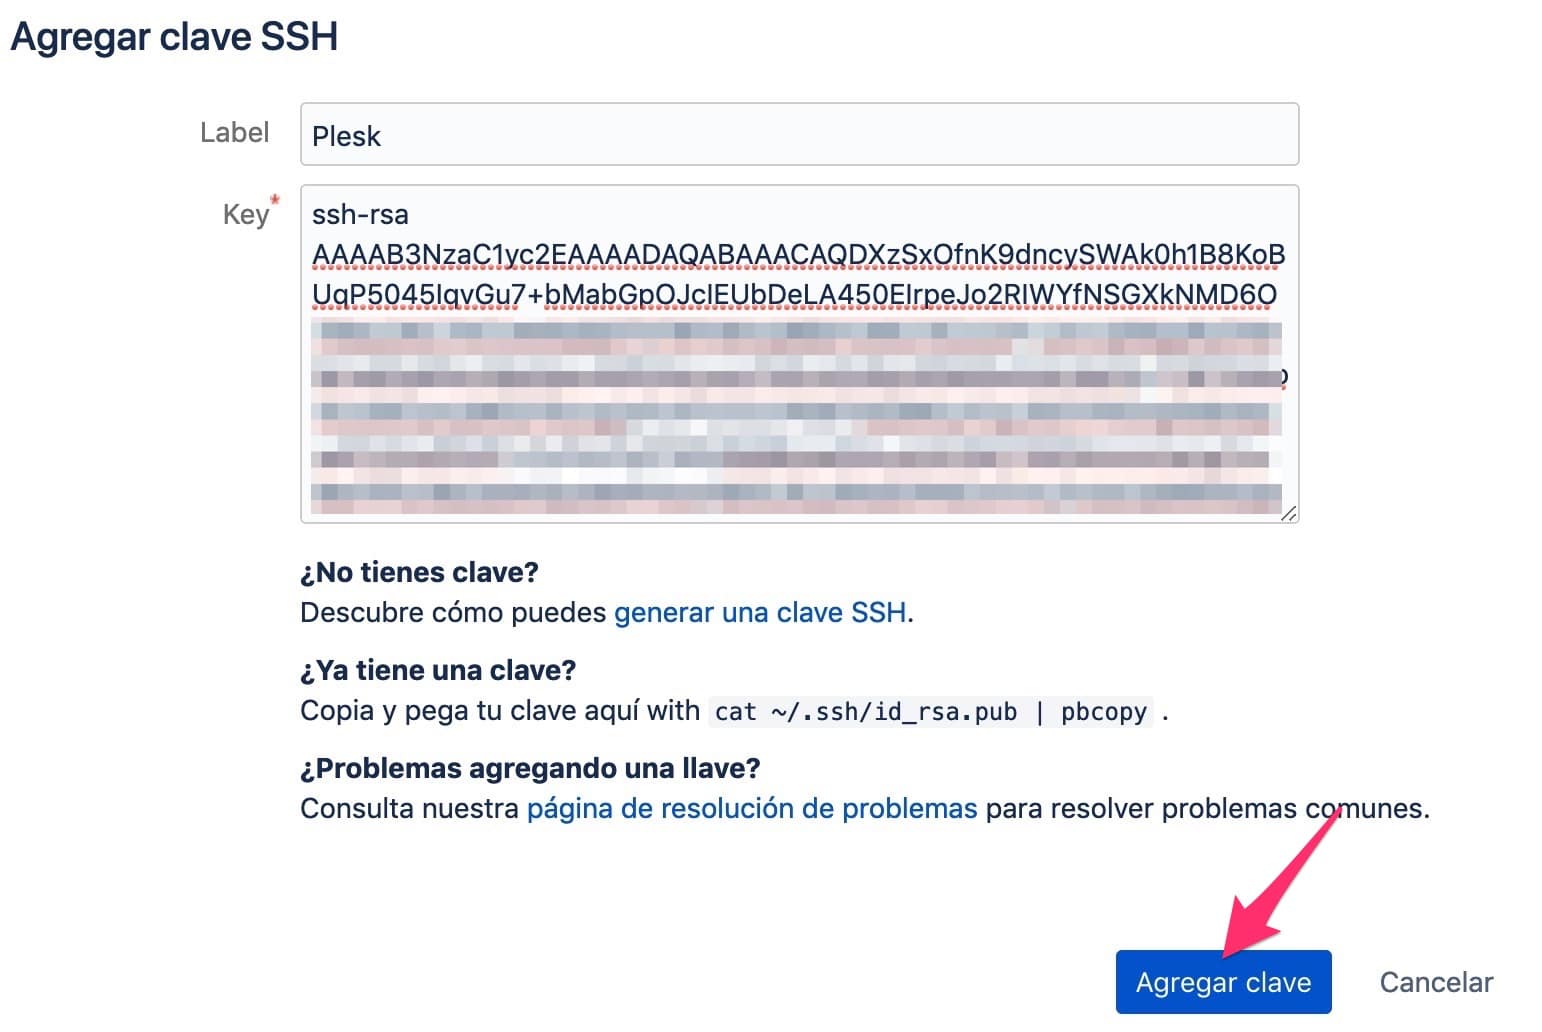
6. Add SSH password to Bitbucket
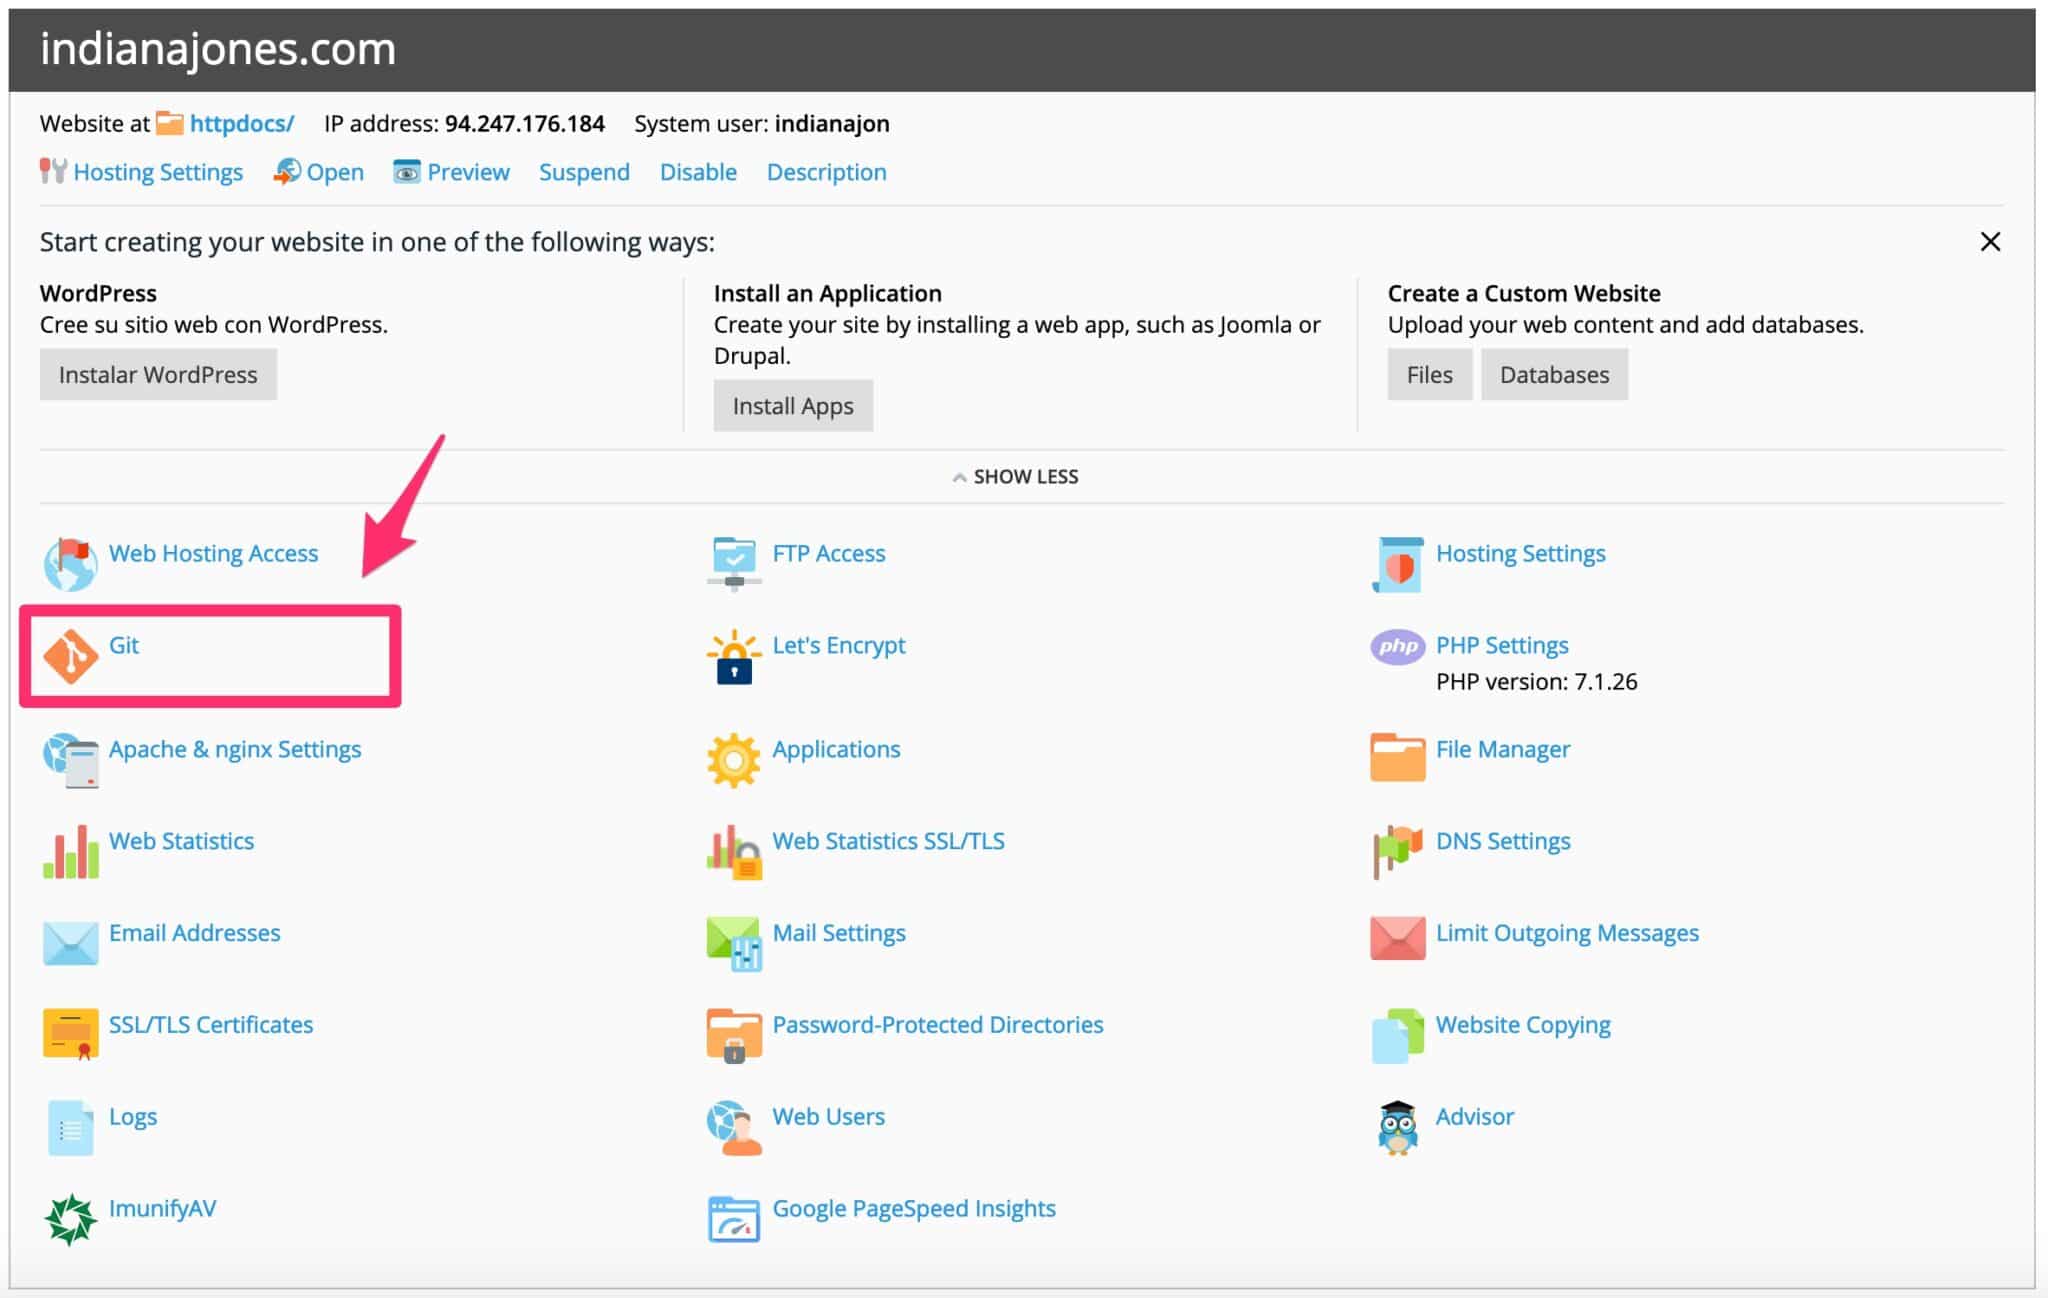
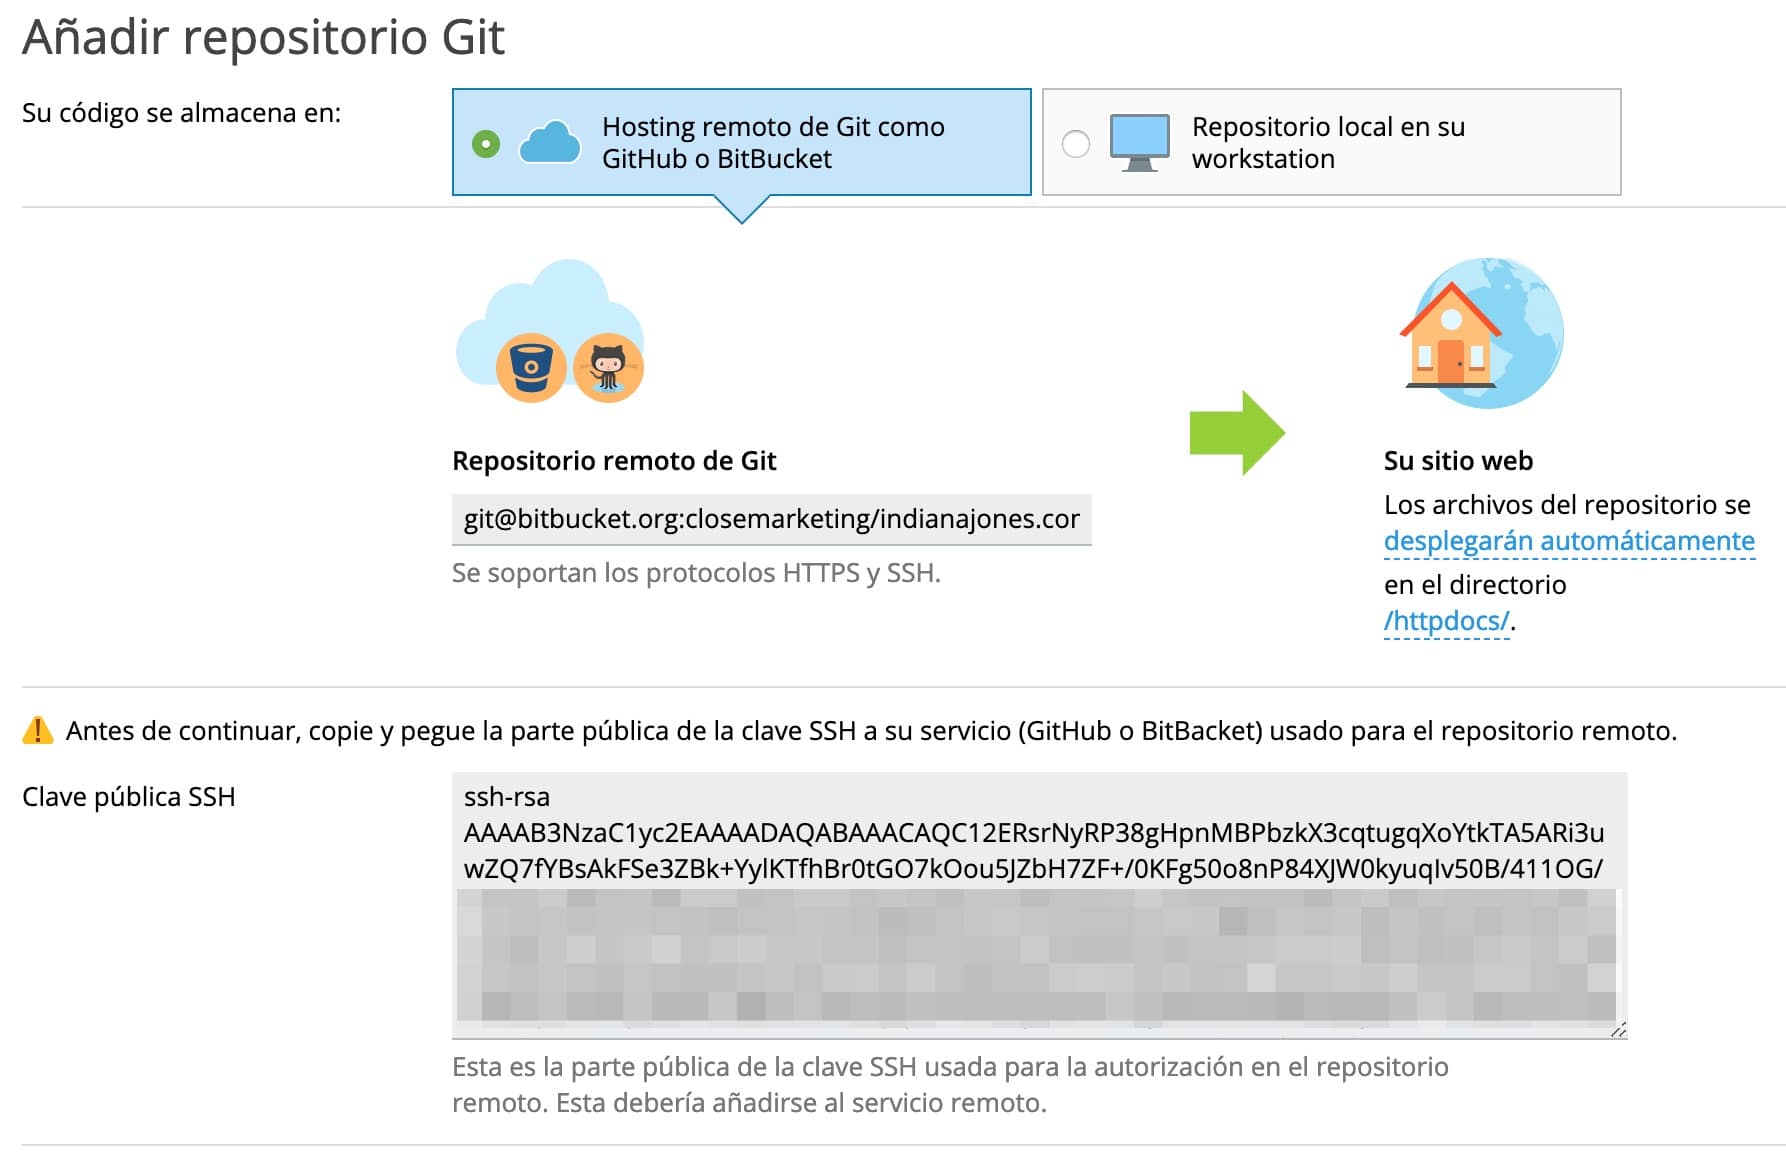
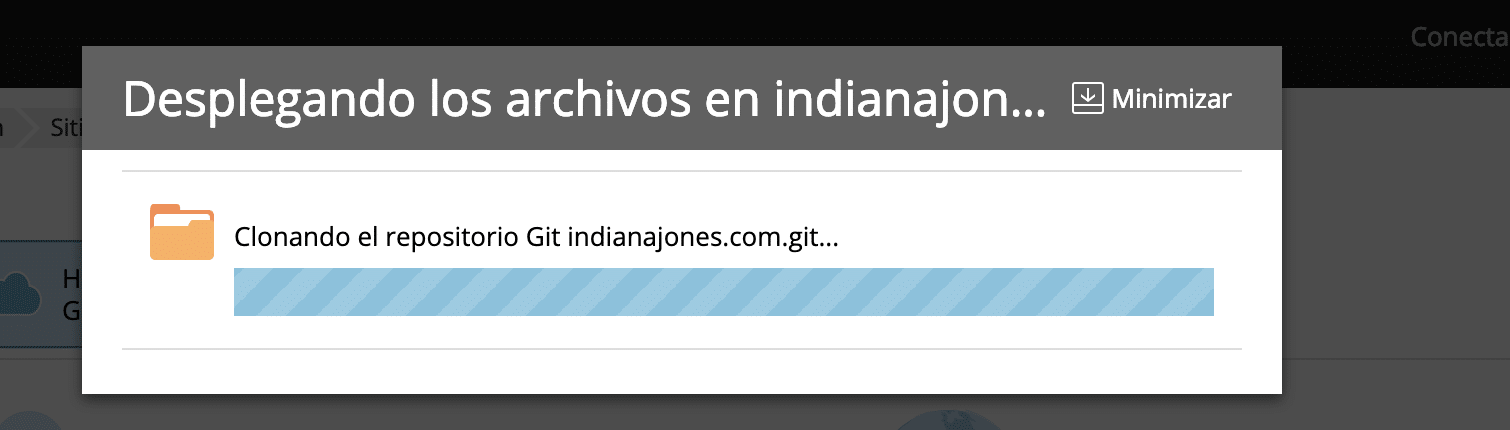
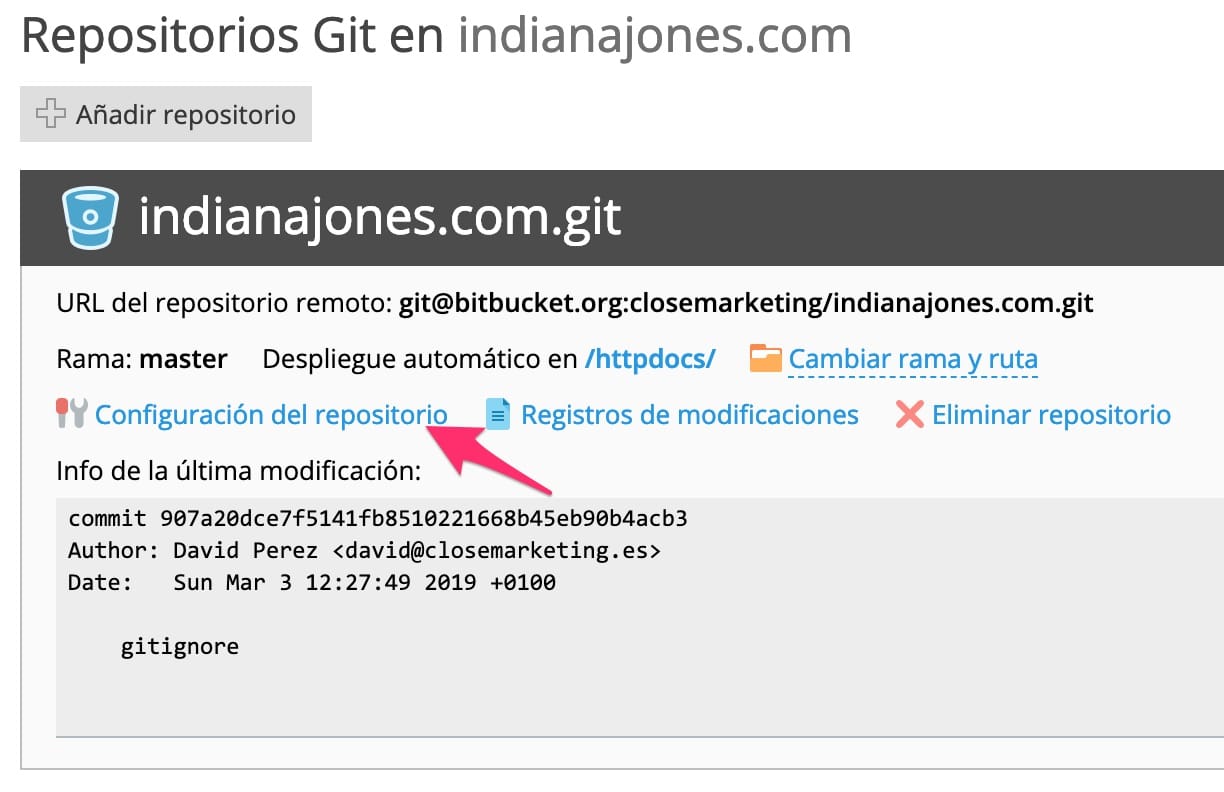
7. Deploying the repository
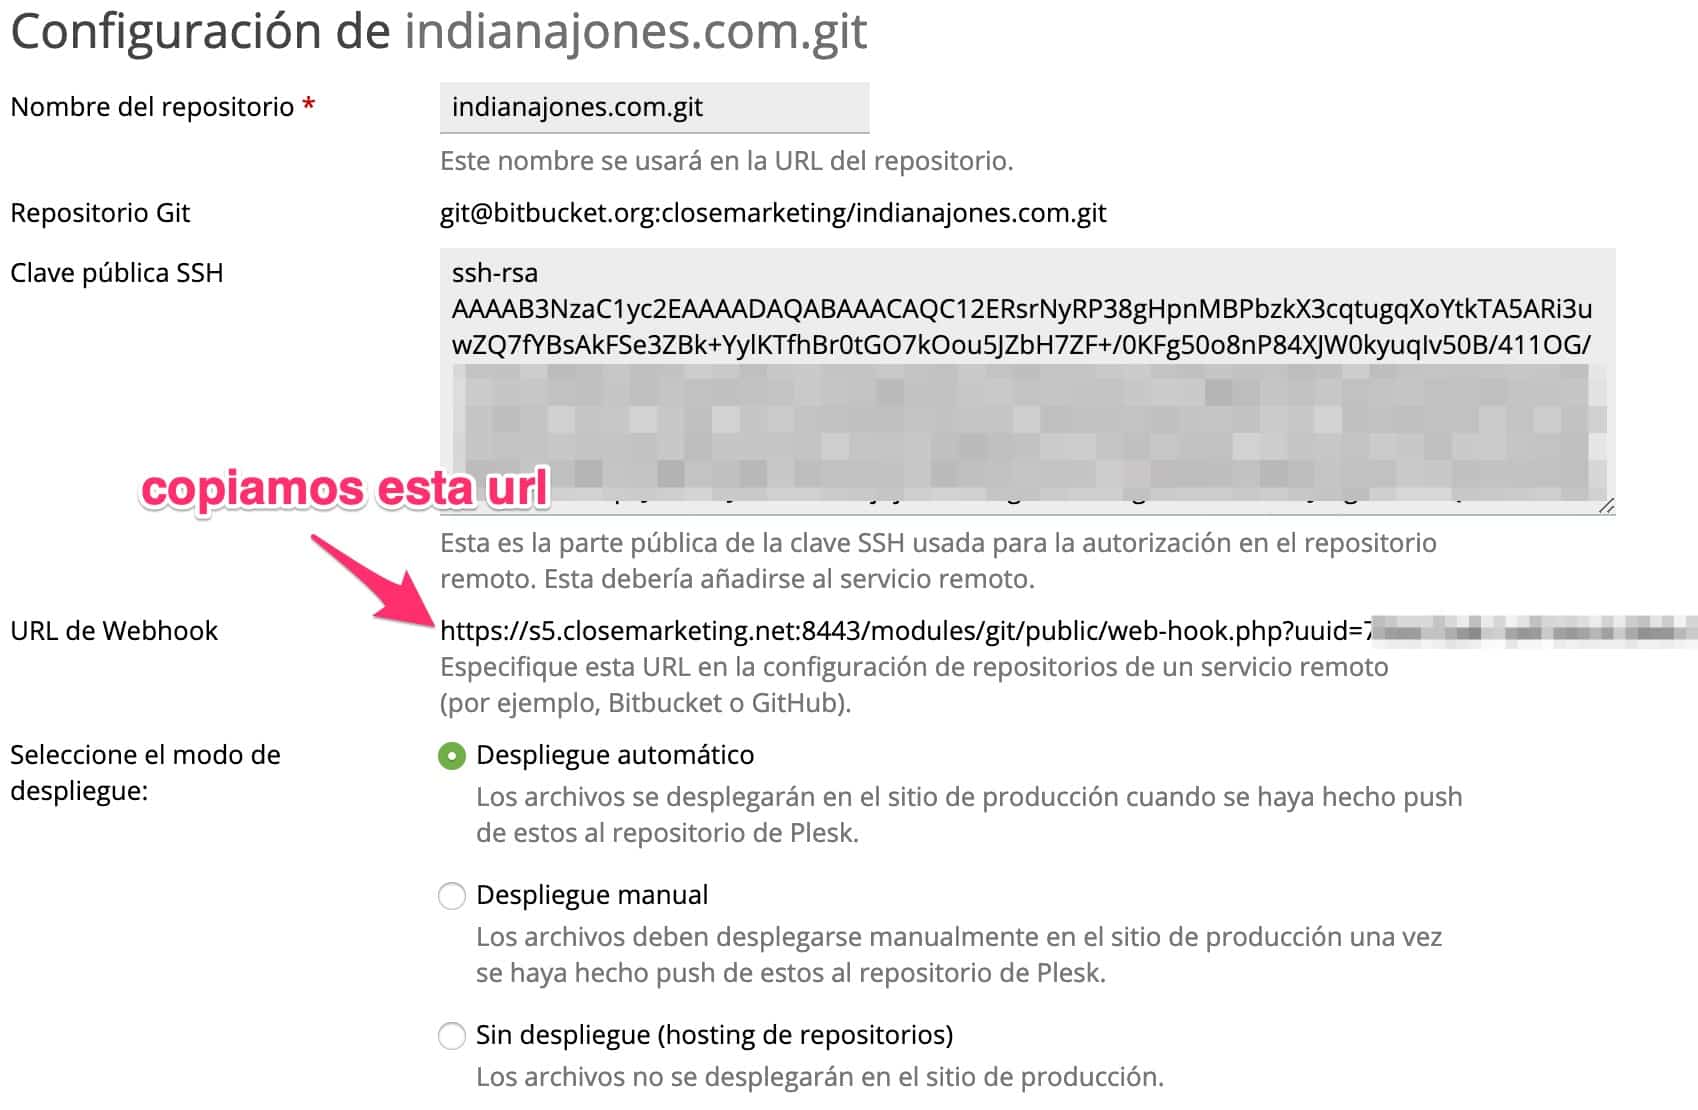
8. Webhook repository configuration
9. Webhook in Plesk
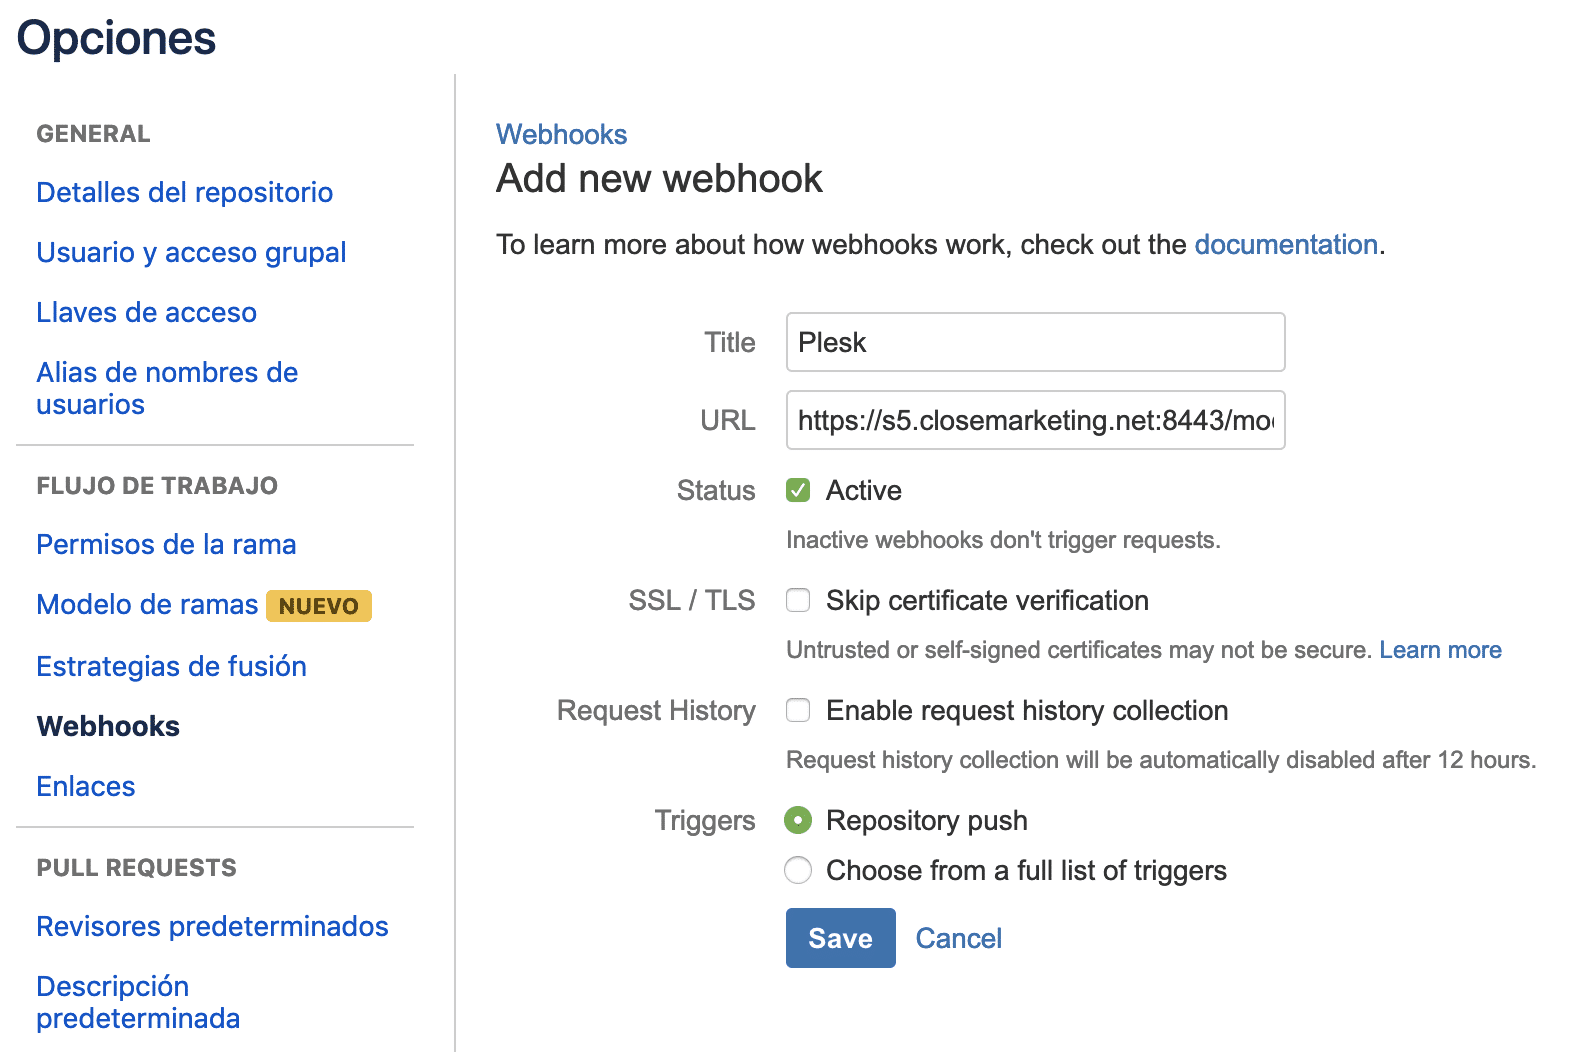
10. Webhook configuration in Bitbucket
Deployment with GIT FTP
You can use the GIT FTP service on your computer to be able to display your files once you have made the Push changes to the repository.
To configure this workflow, you would have to follow the steps below:
1. Install GIT FTP on your computer
To install GIT FTP, I recommend this tutorial, which is pretty good.
2. Configure the repository with FTP access data
In the .git/config file you can edit it and add the following lines:
This will allow you to link the FTP access to upload the files.
If you want certain files not to be uploaded, you can put in the root of the repository
.git-ftp-ignore
And with the command git ftp init , and then every time git ftp push, you can upload the changes made in your WordPress repository.
Leave a Reply